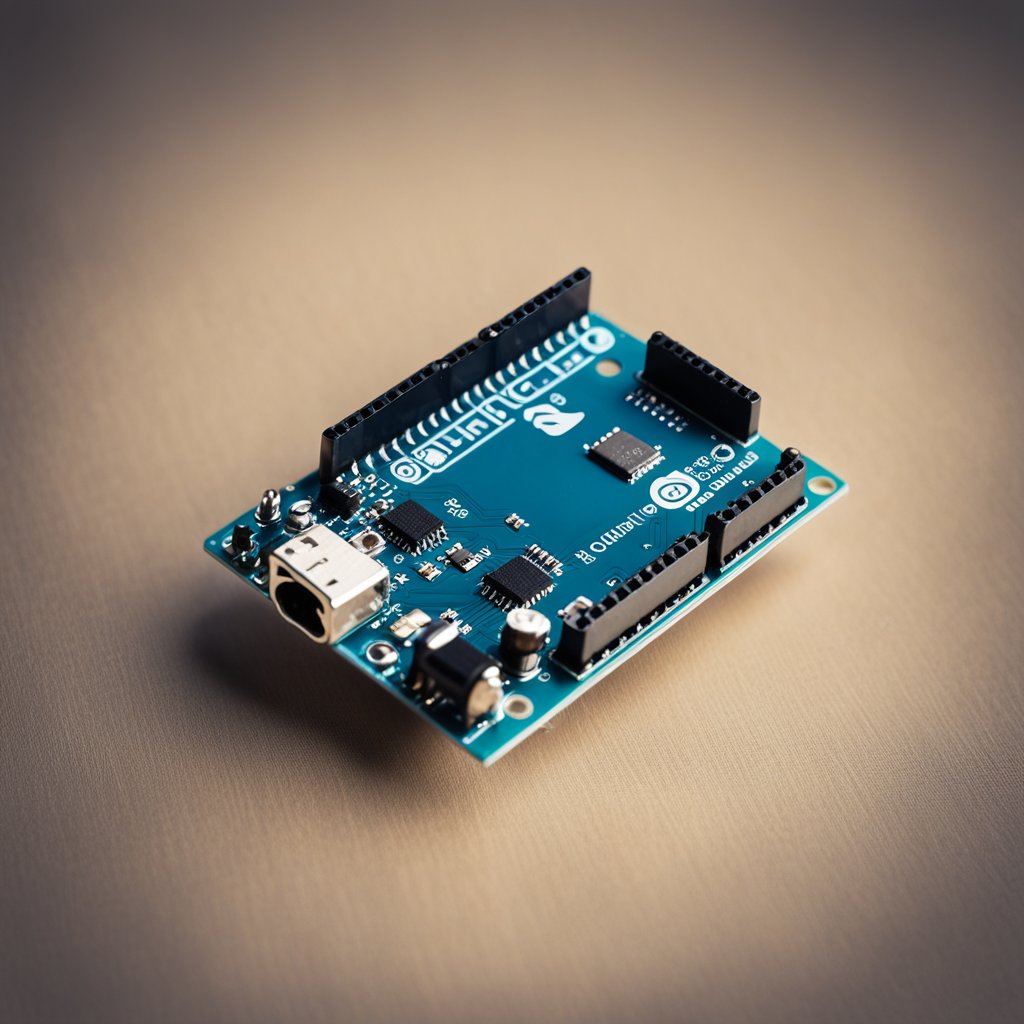
The tank is entirely made from SparkFun parts:
Arduino
Ardumoto
Dual Motor GearBox
Stackable Arduino Headers
Super Awesome Tank Treads
LiPoly Battery Charger
Batteries
Small Solar Panel
XBees
XBee USB board
XBee Explorer board
Also used a number of misc jumper wires, rubber bands, a block of wood and a few small pieces of aluminum (from the back of a PC).
Of course you will need an iPhone to get everything running exactly as I have setup, but you don't need to use an iPhone to control your tank, you could use a midi controller, a multi-touch screen, a random hardware controller, or really anything that can send serial, OSC or anything into Processing.
Here is the Source Code:
Source code for Arduino is from a Mechomaniac.com:
//-----------Start Arduino code ---------------
// Test program for SparkFun Ardumoto board
// Copyright (c) 2009 mechomaniac.com
// To use, connect the Arduino to a computer and send commands using a serial terminal.
// eg AR40# motor A forwards with a speed of 40
#define PwmPinMotorA 10
#define PwmPinMotorB 11
#define DirectionPinMotorA 12
#define DirectionPinMotorB 13
#define SerialSpeed 9600
#define BufferLength 16
#define LineEnd '#'
char inputBuffer[BufferLength];
void setup()
{
// motor pins must be outputs
pinMode(PwmPinMotorA, OUTPUT);
pinMode(PwmPinMotorB, OUTPUT);
pinMode(DirectionPinMotorA, OUTPUT);
pinMode(DirectionPinMotorB, OUTPUT);
Serial.begin(SerialSpeed);
}
// process a command string
void HandleCommand(char* input, int length)
{
Serial.println(input);
if (length < 2) { // not a valid command
return;
}
int value = 0;
// calculate number following command
if (length > 2) {
value = atoi(&input[2]);
}
int* command = (int*)input;
// check commands
// note that the two bytes are swapped, ie 'RA' means command AR
switch(*command) {
case 'FA':
// motor A forwards
analogWrite(PwmPinMotorA, value);
digitalWrite(DirectionPinMotorA, HIGH);
break;
case 'RA':
// motor A reverse
analogWrite(PwmPinMotorA, value);
digitalWrite(DirectionPinMotorA, LOW);
break;
case 'FB':
// motor B forwards
analogWrite(PwmPinMotorB, value);
digitalWrite(DirectionPinMotorB, LOW);
break;
case 'RB':
// motor B reverse
analogWrite(PwmPinMotorB, value);
digitalWrite(DirectionPinMotorB, HIGH);
break;
default:
break;
}
}
void loop()
{
// get a command string form the serial port
int inputLength = 0;
do {
while (!Serial.available()); // wait for input
inputBuffer[inputLength] = Serial.read(); // read it in
} while (inputBuffer[inputLength] != LineEnd && ++inputLength < BufferLength);
inputBuffer[inputLength] = 0; // add null terminator
HandleCommand(inputBuffer, inputLength);
}
//----------- End Arduino code ---------------
Processing code:
//----------- Start Processing code ----------------
import oscP5.*;
import netP5.*;
import processing.serial.*;
Serial arduinoPort;
OscP5 oscP5;
float [] fader = new float [3];
void setup() {
oscP5 = new OscP5(this,8000);
arduinoPort = new Serial(this, Serial.list()[0], 9600);
}
void oscEvent(OscMessage theOscMessage) {
String addr = theOscMessage.addrPattern();
if(addr.indexOf("/1/fader") !=-1){
String list[] = split(addr,'/');
int xfader = int(list[2].charAt(5) - 0x30);
if(theOscMessage.get(0).floatValue() !=0){
fader[xfader] = theOscMessage.get(0).floatValue();
}
}
}
void draw() {
//---------------------------------Motor A
if(fader[1] > 0.65){
arduinoPort.write("AF100#");
}
if(fader[1] < 0.35){
arduinoPort.write("AR100#");
}
//--------------------------------Motor B
if(fader[2] > 0.65){
arduinoPort.write("BF100#");
}
if(fader[2] < 0.35){
arduinoPort.write("BR100#");
}
//----------------------------stop commands
if(fader[1] < 0.65 && fader[1] > 0.35 ){
arduinoPort.write("AF0#");
}
if(fader[2] < 0.65 && fader[2] > 0.35 ){
arduinoPort.write("BF0#");
}
}
//---------------------- End Processing Code ------------------
Comments
Incredible project! I've been a picaxe guy since I started in electronics (actually I started with a BASIC Stamp. I know, I'm trying to forget ;)), but seeing all these Arduino projects makes me really want to buy one.
Kudos.
wow.
really really nice for you to share the code and prototipe such a clear-designed object.
++
d
Awesome. You should consider selling these. I have no idea if this is realistic, but I'd buy one if it could be made for less than $100.
Just saw the prices on the parts list... at least $200 in parts. Oh well.
This is part of a larger project which involves motion tracking robots virtually firing projections... and you don't need all of this stuff to make an iphone controlled tank. I'll try to make a cheaper version.
pretty neat, but have you checked out the various routerbot projects? using an off the shelf wireless router, two continuous rotation servos, and a serial servo controller i was able to achieve the same, minus the cool tank treads. my point being that my project cost less than $100, and can be controlled with any web-enabled device (control is through an html webpage hosted on the router, with an internet connection it can be controlled from, well, the internet!)
David and Ardy, it could easily cost less than $100, for me I had all of these parts laying around. I'm sure there are a number of cheaper ways to do exactly the same thing.
Also this is just one piece of my project, I'll post more about it later tonight or tomorrow.
So the wireless goes from the iphone to the laptop to usb to wireless to the xbee on the tank? Could it be done without the laptop, if the tank has wifi like http://www.sparkfun.com/commerce/product_info.php?products_id=9333 ???
John, Yes it could be done without the laptop, however I'll be using the signals send from the iPhone in Processing to do other things...see my latest post to get an idea of what I'm talking about.
I am real interested to hear ideas for how it could be done without the laptop!
I see how you could use the WiFly to pull down web data. But the TouchOSC interface is so much nicer than a web interface. Is there some way that the Arduino could receive OSC over wifi directly?
Yes it could be done without the laptop by using the WiFly...in fact it would be very similar to the how the Electro-Luminescent suit control system was created in my other blog post.
Really a good job!
one question:
what kind of program did you use to programe the tank.
Are there any other iphone apps like touch osc, but a little more generic way to send data over wifi via a custom gui (other than writing your own app)?
That's a good question John. I'm not sure, but that would be nice. If you hear of anything, let me know.
I haven't found any other apps that even come close to the interface builder of TouchOSC, and since I'm familiar with OSC it's been a great tool.
can I use easyC fro Vex to program the tank
you said: "Yes it could be done without the laptop by using the WiFly..."
could you give a bit more info? I'm thinking of using the WiShield (http://www.asynclabs.com/store?page=shop.product_details&flypage=flypage.tpl&product_id=17&category_id=6) to send OSC data from TouchOSC directly to the Arduino. But how will the Arduino be able to read the incoming OSC data? I found an OSC library for EthernetShield (http://blog.makezine.com/archive/2009/03/osc_library_for_arduino.html), but would this also work with WiShield or WiFly? If so, does it require any modifications?
Thanks for the help
Chris can i use some tires instead of the tank rials. or how does that affect the robot endurance?
Am new to this ...........i want to learn more.and really want to build this tank ....i know i could get the parts.. dont know which wire goes wehere... you think u could help me with that .... one day i could build something of my own .. keep up the good work peace....
I have been looking to construct a hardware system design that can recieve a signal from a 3g or 4g network, and pretty much go anywhere a telephone can go. The routerbot is cool because of the range that it has and the bandwidth it can pump out means it can handle a live video feed from a camera.
If anyone has any ideas how such a system as the one i have in mind can be implemented. I'd be curious to know, But I doubt that the darn thing can support the video feed that it would need to have unless the video quality suffered.
Chris
one question; how you programed the arduino without using the usb cable.
Nice job! Glad to hear my gearbox isn't the only one that sounds like that! Thanks for the code.
Congratulations for the project.
I'm starting now and let me know if you have the wiring diagram of the components of the wagon.
Thank you.
hello, your work has been my inspiration
http://www.youtube.com/watch?v=4iGBqb0yiNU
thanks
Awesome project!!! Do you have a copy of your OSC interface. I tried making one but not sure what your fader addresses are.
How many batteries are you using to power this tank?
hey thats cool
can u jus explain me how to give all the connections
Hi there, love this project, trying to get this to work with one of my bots, testing to see if it can turn a led on with and fade it, but all i get is
"### [2010/10/14 23:0:43] ERROR @ OscP5 ERROR. an error occured while forwarding an OscMessage
to a method in your program. please check your code for any
possible errors that might occur in the method where incoming
OscMessages are parsed e.g. check for casting errors, possible
nullpointers, array overflows ... ." messages.... any help would be great, thank you.
Also is there a tutorial for this project? thanks. great job
It's so interesting. Is it for Android. Actually phone should be only phone , not weapon.
Skiing.Stylish Spyder Jacket May Surprise You Thomas Sabo Charms.Spyder Jackets Create A mor beautiful Look.Thomas Sabo Ohrschmuck Keeps You Warm.When buying a spyder ski wear Thomas Sabo Ketten Bänder, it is very important to know the quality of the thomas sabo charm club products that you are going to thomas sabo outlet.When buying a spyder ski wear
Hello friends,this is a nice site and I wanted to post a note to let you know, good job! Thanks
Best regards, Natali, CEO of <a href="http://www.starburnsoftware.com">iso burner</a>
Hello friends,this is a nice site and I wanted to post a note to let you know, good job! Thanks
Best regards, Natali, CEO of [url=http://www.musicfrost.com]free music downloads[/url]
Hello here! I really enjoy reading your blog! If you keep making great posts I will come back every day to keep reading!
Hi, i have an R/C car that has a Electronic Speed Control and a servo. I was wondering it possible to do this project with those items? Thanks and great work!
Awesome. You should consider selling these. I have no idea if this is realistic, but I'd buy one if it could be made for less than $100.
Hello, i like your work very well, but I alsow have a question: Could You please load up your TouchOSC Skin ? Or didn't I found it on Your page ?
Thanks, Alex
Your processing code is a little off, but I was able to use it for my project. http://pastie.org/1769953 p.s this only took 4 hrs and I'm only 14.
-Cheers, Shawn
Where can I get one of these - they're so cool!
Hi
thank you for sharing your code with everybody.
it works really good.
but I would like to be able to control servo motors to, i had found this
tutorial: https://github.com/jaxzin/arduino_touchosc_servo_controller
i tried to embedd this code in yours but i could not make it work.
i also tried firmata to try to use motors and servo's at the same time.
could you please help me out by helping me develop some code ?


